
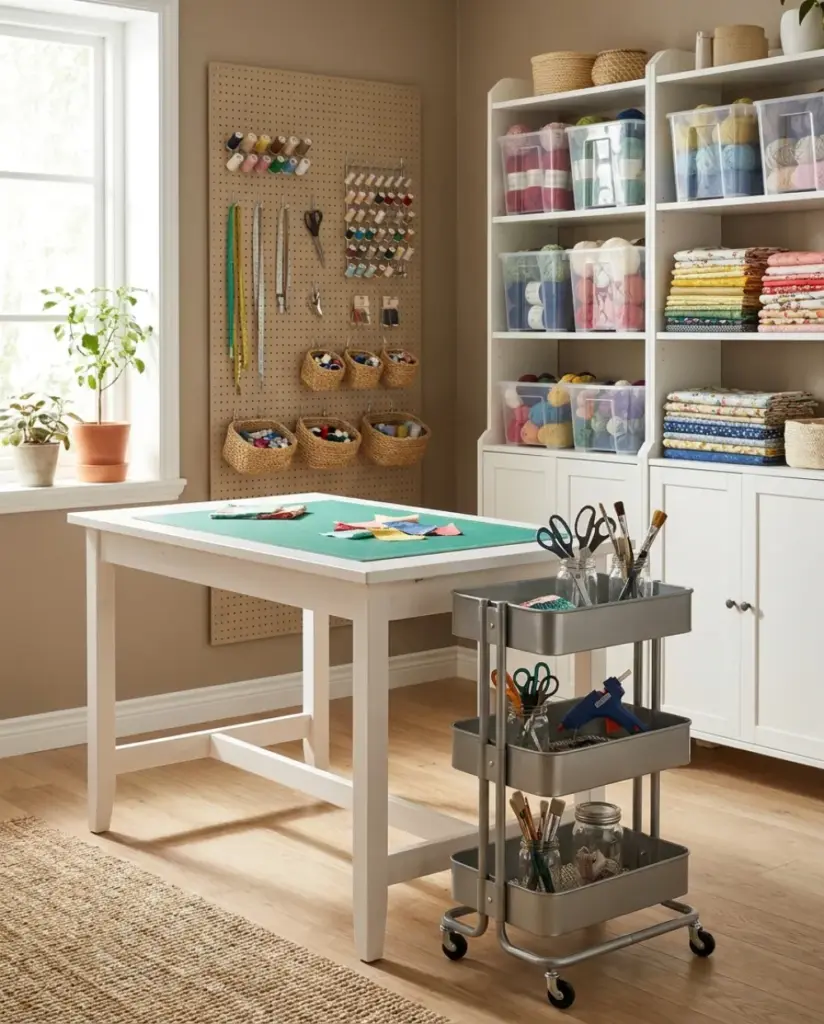
1. How do you start organizing a craft room?
You start organizing a craft room by emptying one area at a time and sorting every supply by craft type before you buy a single bin. Sorting first shows you how much paper, yarn, fabric or paint you really own, and that number decides the storage you need. Professional organizers use the same order in whole-home organizing: sort, edit, then contain.
Clear a folding table or a stretch of floor as a staging area. Pull supplies from drawers, totes and closets, and group them before you judge anything.
What categories should craft supplies be sorted into?
- Paper crafts: cardstock, patterned paper, stickers, stamps and ink pads
- Fiber crafts: yarn, fabric, thread, needles and patterns
- Paint and finishes: acrylics, brushes, sealers and spray products
- Tools: scissors, cutting mats, punches, glue guns and a cutting machine
- Small embellishments: beads, buttons, ribbon, sequins and charms
- Kids’ craft supplies: crayons, markers, kits and construction paper
Once every category sits in its own pile, the next decision is how much of each pile deserves space in the room.
2. Which craft supplies should you keep?
Keep the craft supplies you have used in the past year or have a specific, planned project for, and let go of the rest. Dried paint, half-finished kits for hobbies you have moved past, and duplicate tools take up the shelf space your current projects need.
Ask these questions about each pile:
- Have I used this in the last 12 months?
- Do I have a project in mind for it this season?
- Do I own a newer or better version of this tool?
- Is it still usable, or has it dried out, faded or cracked?
What do you do with craft supplies you no longer use?
Donate usable craft supplies to schools, scout troops, senior centers or a local art program, and box them right away so they leave the house. Old solvents, aerosol paints and some glues count as household hazardous waste, and the EPA’s household hazardous waste guidance says to keep these products in their original labeled containers until you can drop them at a collection event. With the keep pile set, the room is ready to be divided into zones.
3. How do you set up zones in a craft room?
You set up zones in a craft room by grouping supplies according to how often you reach for them, with the most-used items closest to your work surface. Most craft rooms work well with three zones.
Daily-use zone
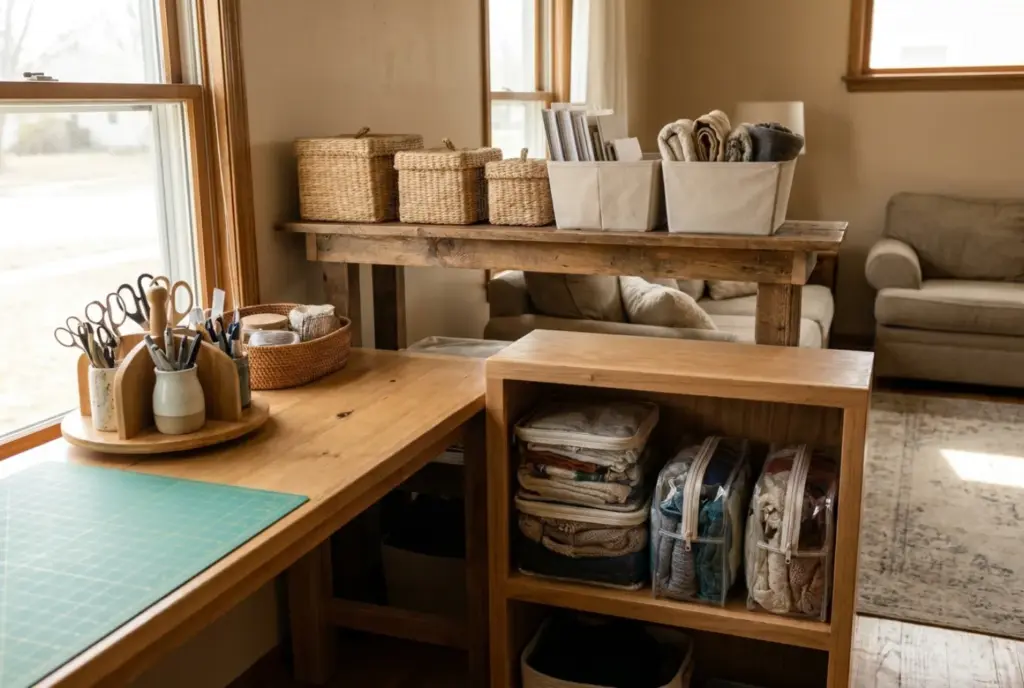
- Scissors, tape, glue and a pen cup within arm’s reach of the table
- A rolling cart or turntable for the tools you grab every session
- Your cutting mat and ruler stored flat beside or under the desk
Project-in-progress zone
- One clear bin or zipper pouch per active project
- A single shelf for works in progress, so they never spread across the table
Bulk storage zone
- Backstock paper, yarn and fabric on higher shelves or in a closet
- Seasonal supplies and large equipment in lidded bins, labeled by category
A craft room in a basement needs one more check before you settle the zones, because damp air warps paper and rusts tools. Our basement organizing guide covers lifting bins off the floor and keeping storage away from exterior walls.
4. What is the best storage for craft supplies?
The best storage for craft supplies is clear, uniform containers sized to each category, because you can see what is inside without opening every lid. Matching containers also stack and line up on shelves, which keeps the room looking calm.
Which containers work for each craft?
- Paper: vertical file holders or flat paper drawers sorted by color
- Yarn and fabric: open cubbies or clear bins sorted by weight or color
- Stamps and dies: thin magnetic sheets or shallow labeled boxes
- Beads, buttons and charms: small hinged cases or photo-storage boxes
- Ribbon and washi tape: dowels, ribbon boxes or a tension rod
- Markers and pens: upright cups or shallow drawers with dividers
Drawer dividers that work in a kitchen also work in a craft cart, and our guide to organizing cabinets and drawers shows how to measure for them. Small embellishments behave a lot like jewelry findings, so the shallow trays in our jewelry organizing guide translate well to beads and charms. Containers solve the tabletop, and the walls hold even more.
5. How do you use wall and vertical space in a craft room?
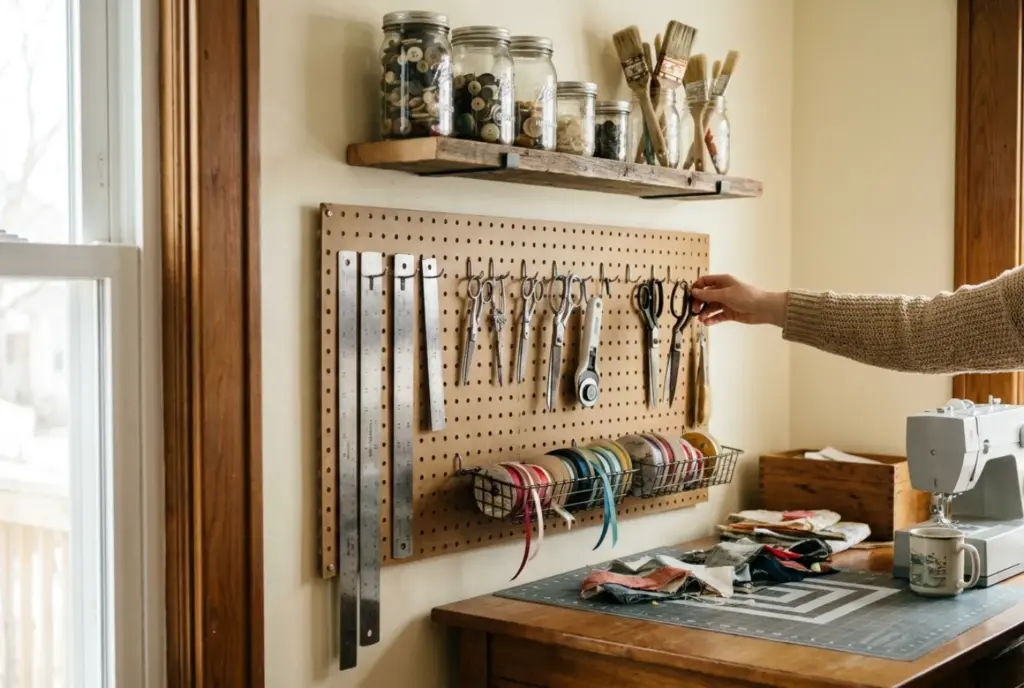
You use vertical space in a craft room by mounting pegboards, shelves and door organizers so tools hang at eye level instead of crowding the work surface. Walls are usually the largest unused storage area in a small craft room.
- A pegboard above the desk for scissors, rulers, rotary cutters and small baskets
- Floating shelves for jars of buttons, brushes and pens
- Over-the-door pocket organizers for vinyl scraps, stencils and patterns
- A cube shelving unit with bins for yarn, fabric and kits
Can a closet become craft storage?
A closet can become craft storage once you add adjustable shelves, a hanging organizer and labeled bins for bulk supplies. Our closet organizing guide walks through measuring shelves and using the full height of the space. Pattern books and craft binders can live on a nearby shelf, and our bookshelf organizing guide explains how to group them so they stay easy to find.
6. How do you store paint, glue, and craft chemicals safely?
Store paint, glue and craft chemicals in their original containers, on a shelf out of children’s reach, away from heat and in a room with fresh air. The U.S. Consumer Product Safety Commission’s Art and Craft Safety Guide recommends choosing water-based products over solvent-based ones and keeping cords and tripping hazards off the floor.
- Keep lids tight and labels facing out
- Store spray paints and solvents away from glue guns, heat tools and outlets
- Unplug glue guns and heat tools after every session
- Keep food and drinks out of the painting area
Families with young crafters can borrow ideas from our guide to organizing toys and a playroom, where kid-safe supplies go low and adult supplies go high.
7. How do you keep a craft room organized?
You keep a craft room organized by labeling every container and resetting the room at the end of each project. Labels tell everyone in the house where things return, and a short reset keeps one project from turning into a week of piles.
What does a craft room reset include?
- Return tools to the daily-use zone
- Put leftover supplies back in their labeled bins
- Move the finished project out of the room
- Wipe the work surface and empty the trash
How do you organize a small craft room?
You organize a small craft room by choosing furniture that does two jobs and storing only one season of supplies in the room itself. A folding table, a rolling cart and wall storage can turn a spare bedroom corner, a dining nook or a closet into a working craft space.
- Use a desk with drawers instead of a separate table and cabinet
- Store bulk backstock in a closet or under a bed
- Pick one rolling cart that moves to the kitchen table on big project days
When does hands-on help make sense for a craft room?
Hands-on help makes sense for a craft room when supplies have spread through several rooms or a new space needs a system built from scratch. A professional organizer sorts with you, sets up the zones and labels the containers, so the system fits how you actually create.
At Just Right Organizing, Kalli Erwin and her team research product options and send shopping links, and donation haul-away is included in every session. You can see examples on our organizing projects page, and crafters in Troy, Illinois and across the Metro East can start with a free phone consultation.
Frequently asked questions
What does every craft room need?
Every craft room needs a clear work surface, good lighting, a daily-use spot for core tools and labeled storage for each craft category. A rolling cart and a trash bin within reach make the room easier to reset after each project.
How do you organize a craft room on a budget?
Organize a craft room on a budget by sorting and editing first, then reusing containers you already own, such as jars, shoeboxes and drawer inserts. Buy matching bins only for the categories that still need a home once the edit is done.
What should a craft room look like?
A craft room should have an open work surface, tools within arm's reach and bulk supplies stored up high or in a closet. Clear or uniform containers with labels give the room a calm look and show what is inside each bin.
Where should a craft room go in a house?
A craft room works best in a dry, well-lit space with an outlet near the work surface, such as a spare bedroom, a dining nook or a finished basement. Basements need moisture checks, because damp air damages paper, fabric and metal tools.
How often should you reorganize a craft room?
Reset a craft room after every project and do a full edit once or twice a year. A seasonal edit catches dried paint, finished hobbies and duplicate tools before they fill the shelves.
Want help setting up your craft room?
A craft room that works starts with a system built around the crafts you actually do. Kalli and the Just Right team sort with you, set up the zones and haul away donations at the end of each session. Request a free organizing consultation to talk through your space.
Articles are researched and drafted with AI-assisted tools, illustrated with AI-generated images, and reviewed by Kalli Erwin before publishing.